Applying for jobs without an organization system is like grocery shopping without a list: you spend more time, buy the wrong things, forget half of what you needed, and end up back at the store the next day.
The average job seeker sends over 100 applications before receiving an offer. Without a system in place from the start, 20 applications is enough to create chaos — missed follow-ups, forgotten contacts, duplicate applications, and interview surprises you could have avoided.
This guide builds the complete organization system from scratch. It takes 30 minutes to set up and 5 minutes a day to maintain.
The Real Cost of Disorganization
Before the system, let's be specific about what disorganization actually costs you.
Missed follow-up windows. A follow-up email sent 5–7 days after applying meaningfully increases your response rate. But if you don't know when you applied, you don't know when to send it.
Duplicate applications. Applying to the same role twice — or the same company in the same quarter — is an immediate red flag to most recruiting teams. A simple log prevents this.
Unprepared recruiter calls. A recruiter calls about a role you submitted three weeks ago. You can't remember which resume version you sent or what the job description said. That call goes poorly.
No ability to improve. If you're getting a 3% response rate, you have a resume problem. If you're getting a 15% response rate but no interviews are converting, you have a different problem. Without tracking, you can't see either.
Lost job descriptions. Job postings expire — often within 2–4 weeks. If you only saved the URL, you've lost the content you need to prepare for interviews.
Every one of these problems is solved by one afternoon of setup.
The 5-Layer Organization System
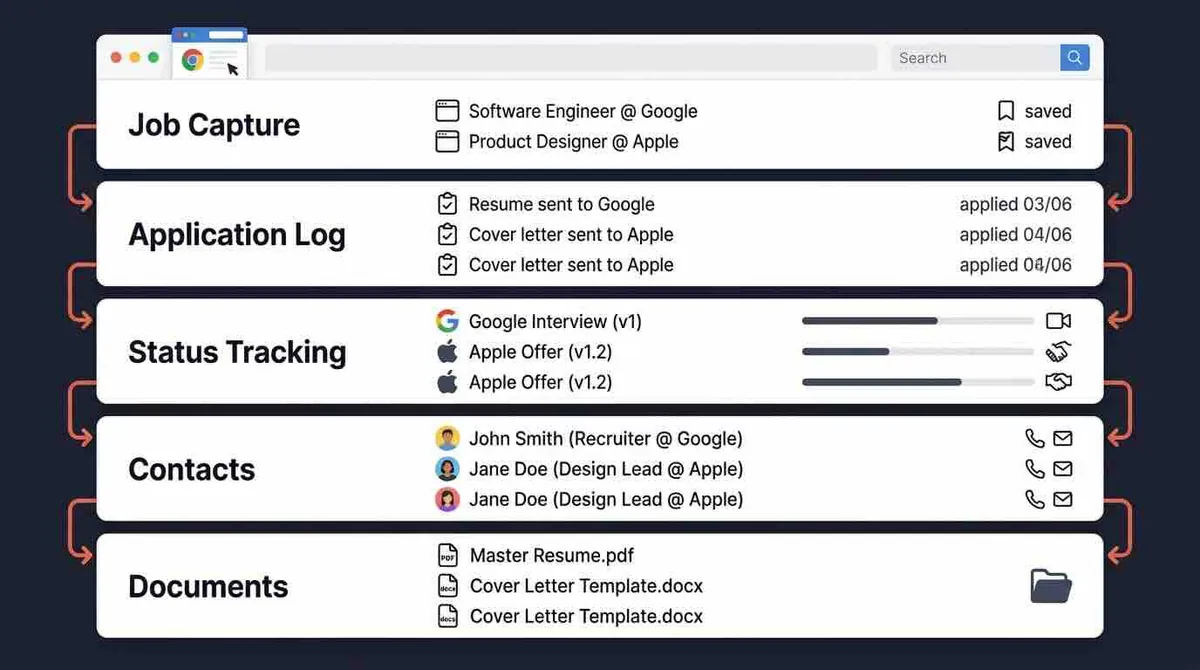
A complete job search organization system has five layers. Most people have layer 2 at best. All five are necessary for a high-performing search.
Layer 1: Job Capture
This is what happens before you apply. Most job seekers skip it and apply on impulse — which leads to unfocused applications to roles they haven't properly evaluated.
The better approach: When you find a job you're interested in, add it to a "Wishlist" before applying. For each Wishlist entry, capture:
- Company name and job title
- The job posting URL
- The full job description text (critical — URLs expire)
- Salary range if listed
- Why you're interested
Review your Wishlist weekly. Apply to the strongest fits when you have time to tailor properly. This simple gate significantly improves application quality because you're not firing off applications when you're rushed.
A Chrome extension like the one in OfferFlow makes this instantaneous — one click captures the job from any job board.
Layer 2: Application Log
Every submitted application gets a record. This is the layer most people try to maintain but often let slip.
Minimum fields:
- Company name
- Job title
- Date applied
- Job board / source
- Current status (starts at "Applied")
The application date is the most important field — it's the anchor for every follow-up timing calculation.
Layer 3: Status Tracking
Your pipeline stages tell you where every opportunity stands in real time.
Standard stages: Wishlist → Applied → Screening → Interview → Offer → Rejected / Withdrawn
Update status the moment anything changes. The moment you receive a recruiter email — not when you get around to it, not at end of week. Your tracker is only useful if it's current.
Layer 4: Contact Management
For every person you interact with in a job search, maintain a record:
- Full name and title
- Company
- Email address and/or LinkedIn profile
- When you last spoke and what was discussed
- Any commitments made ("I'll send my portfolio by Thursday")
This layer is what makes you look prepared instead of caught off-guard. When a recruiter calls from a company where you spoke to an HR coordinator six weeks ago, having the notes from that conversation changes the quality of the call.
Layer 5: Document Organization
For each application, record:
- Which resume version was sent (filename, not just "my resume")
- Which cover letter was used
- Any other materials submitted (portfolio, writing samples, assessments)
Before every interview, you open the record for that application and see exactly what they have. You review it. You prepare talking points based on what's actually on the version they received. This eliminates one of the most common sources of interview confusion.
What to Track for Every Application
Here's the complete field list, organized from essential to comprehensive:
Must track:
- Company and job title
- Applied date
- Status
- Follow-up date (set to 7 days after applying)
Should track:
- Job board / source
- Resume version filename
- Recruiter name and contact info
- Salary range from posting
- Notes from any conversation
Track when targeting competitive roles:
- Company research notes
- Interviewer names and profiles
- Offer details (total comp, not just base)
- Your decision criteria and notes
The 30-Minute Setup
If you're using a spreadsheet
Open Google Sheets and create these columns: Company | Role | Applied Date | Status | Source | Resume Version | Contact | Email | Follow-Up Date | Salary Range | Notes
Quick formatting tips:
- Color-code the Status column: yellow = active, green = advancing, orange = follow-up due, red = rejected
- Freeze row 1 (the header row) so it stays visible when you scroll
- Sort by Follow-Up Date each morning to see what needs action today
If you're using a kanban tool
Set up 7 columns: Wishlist, Applied, Screening, Interview, Offer, Rejected, Withdrawn.
Create your first card. Open it and add: the job description text, the applied date, the salary range, and the follow-up date. That's the template for every card going forward.
If you're using OfferFlow
All 5 layers are built in — pipeline stages are pre-configured, contact management is integrated, you can attach documents to each job card, and follow-up reminders surface automatically. The Chrome extension handles Layer 1 (job capture) from any job board. Setup time: under 5 minutes.
The 5-Minute Daily Habit
The system collapses quickly if updates get batched. Here's the daily routine:
After each application (2 minutes): Log it immediately. Create the entry, paste in the job description, set the follow-up date. Don't wait until end of day — you'll forget details and lose momentum.
Each morning (3 minutes): Open your tracker. Scan the Follow-Up Date column. Send any follow-ups due today. Check for any status updates to process from yesterday.
That's the whole habit: 5 minutes per day. The value compounds: after 30 days you have a complete picture of your search — response rates, what's working, what isn't — that no amount of memory could provide.
Managing Your Follow-Up Queue
Follow-ups are the single most neglected part of most job searches. A dedicated follow-up system turns them from something you think about but skip into something you do automatically.
The rule: every application gets a follow-up date assigned at submission. 7 business days after you apply.
Your morning task: check follow-up dates before you do anything else. Send any that are due. Update the date to 14 days (for a potential second follow-up) or close it if you've already followed up twice.
The follow-up email template:
Hi [Name], I wanted to follow up on my application for [Job Title], submitted on [Date]. I remain very interested and believe my background in [specific area] would be a strong fit. Please let me know if you need anything additional from me.
5 minutes. Higher response rate. Most candidates don't do it.
Managing Your Email Inbox for Job Search
Your regular inbox will fill up with job-related email fast — recruiter outreach, portal notifications, scheduling links, automated rejections. Without organization, important messages get buried.
Create a dedicated folder: "Job Search Active" in your email client. Route all job-search correspondence there — either manually or with a filter on keywords like "application," "interview," "recruiter."
The rule: every email from a company or recruiter goes into this folder immediately. Never hunt through your general inbox for a job-related email during an interview or a call.
Organizing Offer Decisions
When an offer arrives, your organization system serves a different function — helping you evaluate and decide rather than track.
Before you get an offer (set this up now): write down your decision criteria.
- Compensation (total, not just base)
- Role scope and growth path
- Team quality and culture signals
- Company trajectory and stability
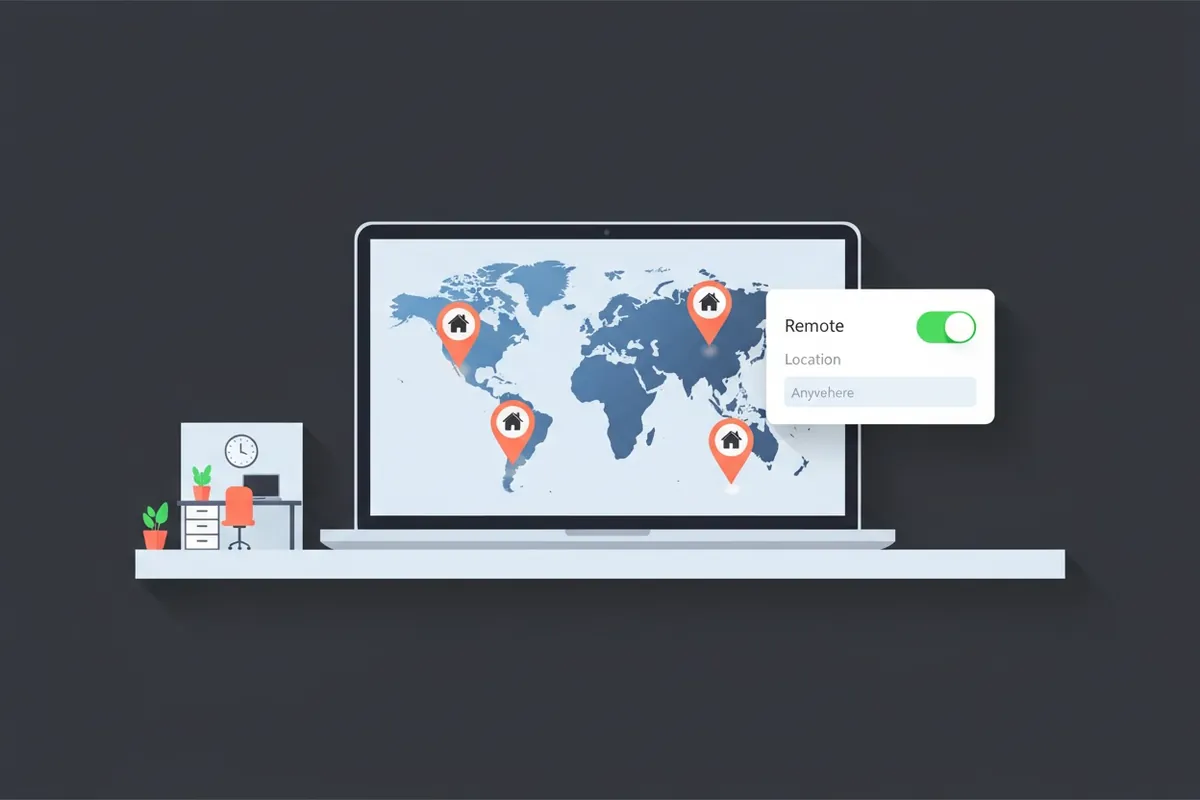
- Remote/hybrid arrangement
- Commute or relocation implications
When comparing offers: build a simple side-by-side table. Total compensation for each offer — base, bonus, equity, benefits. Rank each on your criteria. The comparison usually makes the right choice clearer than the numbers alone.
When you accept: withdraw from all other active applications promptly and professionally. One email to each active company: "Thank you for the consideration — I've accepted another offer. I hope our paths cross again." Your professional reputation persists beyond any single job search.
Getting Started Right Now
If your current system is "I'll remember it":
- Open a new Google Sheet right now — create the 7 essential columns listed above
- Log every application you've sent in the last two weeks (from memory, email searches, browser history)
- Set follow-up dates for anything that's been sitting more than 7 days
- Log the next 5 applications from the moment you submit them
You now have the foundation. The compounding value of the system starts immediately and only grows as your search progresses.
The job seekers who land roles fastest aren't the ones who apply the most. They're the ones who apply with intention, track everything, and use what they learn to improve each week. Build the system. Let the data guide you.